Featured
30MM 1/144 EXM-A9a Spinatio (Army Specification)
$17.00 $14.45
PG 1/60 Perfect Grade Unicorn Gundam 02 Banshee Norn
$260.00 $234.00
HG 1/144 HGUC RX-77-2 Gun Cannon
$17.00 $13.09
MG 1/100 XXXG-01W Wing Gundam EW Ver.
$41.00 $34.85
Dents & Dings – Discounted Model Kits & Hobby Items with Box Damage
$8.06 $11.00 ~ $55.00Gunpla Building 101: How to Get Rid of Nubs and Achieve a Professional Finish
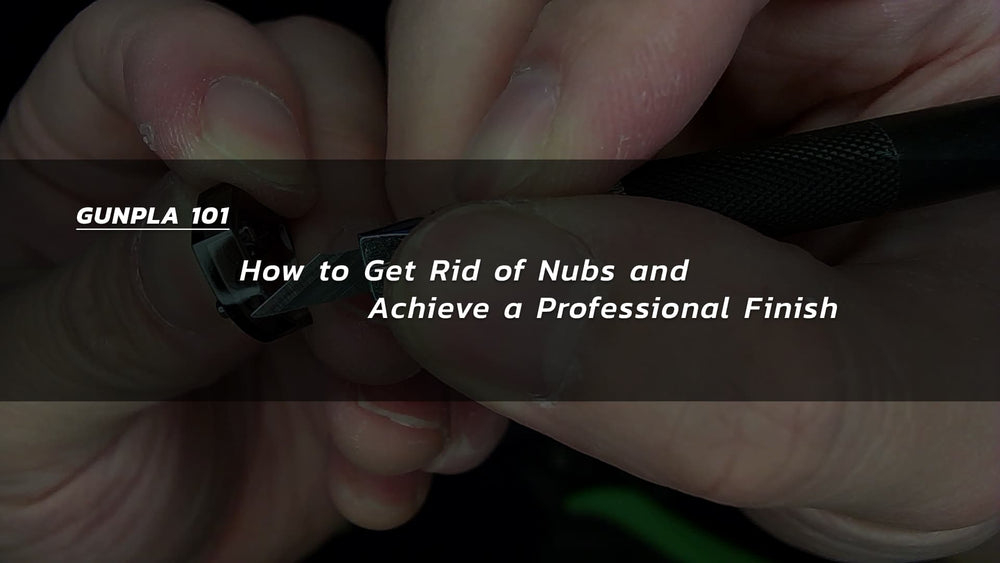
When it comes to building plastic models, particularly Gunpla (Gundam plastic models), one of the most important steps is removing the nubs. Nubs are small protuberances of plastic that are left over after a part has been molded, and they are usually found on the edges or corners of a part. They are used to hold the part in place on the runner (a frame-like structure that the parts are attached to when they are molded), but they must be removed before the model is assembled. Nubs can be unsightly and may interfere with the fit of the parts, so it's important to remove them in order to achieve a smooth, professional-looking finish on the model. There are several techniques that can be used to remove nubs, including cutting them off with a sharp tool, sanding them down, and scraping them off with a hobby knife. In this article, we'll go over some tips and techniques for properly removing nubs when building Gunpla models.
Tip #1: Leave a little distance when cutting parts off the runner
It's important to leave a little distance when cutting parts off the runner to ensure that you don't accidentally cut into the part itself. This is especially true when using nippers, as they can be quite sharp and can easily cut into the plastic if you're not careful.
It is especially important to keep a little distance when working with clear parts. The amount of pressure from the cut can easily cause the part to get scratched or "fogged". If you are working on a model that has clear parts that are visible from the front, as any scratches or imperfections will be very noticeable.
Tip #2: Make sure your nipper and hobby knife is sharp
It is important to use sharp nipper and hobby knife when building plastic models because these tools will make it easier to cut and remove excess plastic. Sharp tools are able to cleanly cut through the plastic, leaving a smooth edge that is less likely to leave marks or imperfections on the parts. In contrast, dull tools may require more force to cut through the plastic, which can result in jagged or uneven edges and potentially damage the parts.
Using a sharp nipper and hobby knife is especially important when working on small or delicate parts, as it reduces the risk of damaging the parts. It's also a good idea to use sharp tools when working on clear plastic parts, as these are more prone to scratching or marring than regular plastic.
Tip #3: Carefully cut off the excess with a sharp hobby knife. Avoid scraping
Scraping the plastic with a hobby knife can be a risky method for removing excess plastic, as it can be easy to apply too much pressure or accidentally cut into the part itself.
-
Hold the hobby knife in your dominant hand, with your index finger on top of the handle and your thumb on the bottom.
-
Position the blade of the knife against the excess plastic, making sure not to apply too much pressure.
-
Take your time and make small, incremental cuts to prevent accidentally cutting too much.
Make sure to cut away from your fingers when removing the excess. The blade of a hobby knife is very sharp and can easily cut through skin, so it's especially important to take proper precautions to avoid injury.
Tip #4: Sanding & Polishing
You've made great progress in removing the nub, but the surface may still be slightly uneven. (my OCD is starting to take over) It's time to move on to sanding and polishing.
Sand Paper vs Sanding Stick
One of the main differences between sandpaper and sanding sticks is their form factor. Sandpaper is a flat sheet of paper or fabric that is coated with abrasive material, while a sanding stick is a cylindrical or rectangular block of foam or rubber that is also coated with abrasive material.
It is generally easier to use Sanding Sticks as they are much easier to hold and control, especially when working on small or awkward-shaped parts.
- Begin by using a lower grit sanding stick (such as #600) to remove larger excess. Lower grits can easily cause damages to parts, so be very careful with the amount of pressure used when sanding. Make sure to use light pressure when sanding and use even motion. Let the grits do its job, not your power.
- Work your way up to higher grit (such as #1000) to smooth out the larger scratches left by the lower grit.
- Repeat the process until the nub has been smoothed out and is flush with the surrounding plastic.
- Finish up with an even higher grit sanding stick (such as #2000 and above) to polish the surface. Depending on the size of the area you are working on, you can also use polishing compound to create a perfectly smooth finish.
To achieve a smooth, even finish on a plastic model, it is generally best to sand in a circular motion or to use a back-and-forth motion that covers a wide area. This will help to evenly distribute the abrasive material and prevent the creation of visible scratches or marks. For smaller areas, try lightly sanding in multiple directions to avoid scratch marks.
Hopefully the above tips will help you achieve the perfect finish you are looking for. Remember to take your time and be careful when removing nubs. It's better to work slowly and carefully than to rush and risk damaging the part.
