Featured

MG 1/100 Gundam Astray Red Frame Mobile Suit MBF-P02KAI
$56.95 $48.41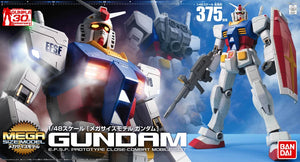
Mega Size 1/48 MSM RX-78-2 Gundam
$92.00 $69.00
MG 1/100 Freedom Gundam Z.A.F.T. Mobile Suite ZGMF-X10A (Ver. 2.0)
$61.00 $51.85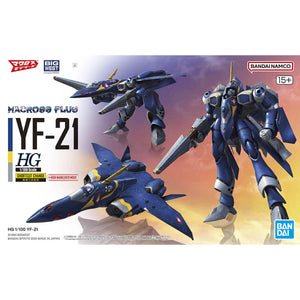
HG 1/100 Macross Plus YF-21
$40.00 $36.00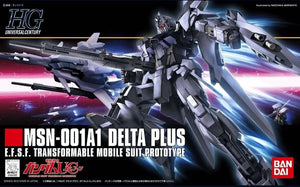
HG 1/144 HGUC Gundam Unicorn MSN-001A1 Delta Plus
$27.00 $18.90What are Gunpla Decals and How to Apply them: A Beginner's Guide for a Realistic Finish
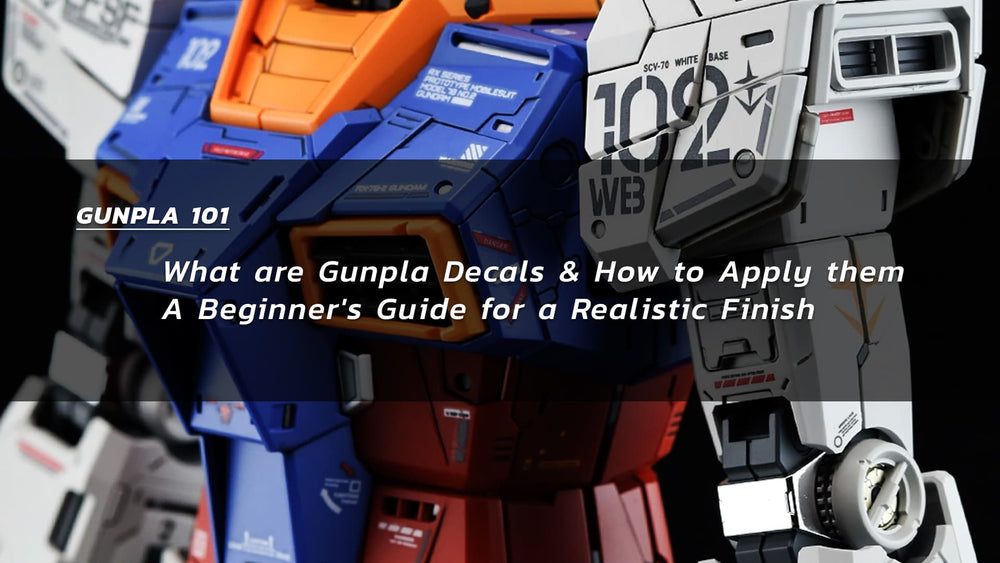
Decals, also known as stickers, are pre-cut designs that are applied to Gunpla (Gundam plastic models) to add details and markings. They are typically applied to the model after it has been painted. Different types of Gunpla kits will come with different types of decals. For example, a basic kit might come with only a few decals, while a more advanced kit might come with many more decals, including some that are specific to that particular model. Some decals may be used for panel lining, some for warning labels, and others for specific unit or faction markings.
Gunpla Decals vs Stickers
Decals are used to add permanent and realistic details to the Gunpla model, while stickers can be used as an alternative but are not as preferred due to their removable nature.
D decal is a pre-cut design that is applied to the model after it has been painted, to add details and markings. Decals for Gunpla typically come on a clear or white background, and are applied by first cutting the decal from the sheet, immersing it in water to release the decal from the backing paper, and then positioning it on the model. Once in place, the decal is then sealed with a clear topcoat to protect the design and make it permanent.
Stickers, on the other hand, can be applied before or after painting, but are generally considered less desirable as they can be removed or repositioned, and may not look as realistic as decals.
Decals are often used to add specific markings, like warning labels, unit or faction markings, and panel lines, that are hard to paint by hand, or to make the model look more realistic.
What is Water Slide Decal?
Water slide decals, also known as water transfer decals, are a type of decal that are applied to a surface by sliding the decal off of its backing paper and onto the surface using water as a lubricant. They are similar to traditional decals in that they are pre-cut designs that are used to add details and markings to a surface, but the application process is different.
To use water slide decals, the decal is first cut from its backing paper, then immersed in water for a few seconds until the decal starts to release from the backing paper. The decal is then carefully slid off the backing paper and onto the surface of the model, where it is positioned and smoothed out. Excess water is then removed, and the decal is sealed with a clear topcoat to protect the design and make it permanent.
Water slide decals are often used on Gunpla models because they are easy to apply and they give a more realistic and seamless result than stickers, which is more important for Gunpla modelers.
Water slide decals are also used in other types of modeling and craft projects, such as woodworking, ceramics, and metalworking.
Step-by-Step Guide on Using Water Slide Decals for Gunpla Models
-
Prepare your work surface: Clean and dry the area of the model where you want to apply the decal.
-
Cut the decal from the sheet: Carefully cut the decal from the sheet, trying to leave as little clear backing paper as possible around the decal.
-
Soak the decal: Immerse the decal in water for about 20-30 seconds, or until the decal starts to release from the backing paper.
-
Slide the decal off the backing paper: Carefully slide the decal off the backing paper and onto the surface of the model.
-
Position the decal: Use tweezers or a decal setting solution to position the decal exactly where you want it.
-
Remove excess water: Use a soft brush or a Q-tip to carefully remove any excess water and bubbles from under the decal. The brush or Q-tip will be gentler on the surface of the model and help avoid any potential damage.
-
Seal the decal: Once the decal is in place and the surface is dry, seal the decal with a clear topcoat to protect the design and make it permanent.
-
Repeat the process: Repeat steps 3 to 7 for any additional decals.
It is generally better to use distilled water to avoid any mineral deposit on the decal, and to let the decal dry by air, instead of using a hairdryer or any other heat source.
Gunpla models are delicate and you should be careful when handling them. Also, make sure the surface is clean and dry before applying decals. If you are not satisfied with the placement of the decals, you can use a decal setting solution to move the decals around a bit before they set.
Decal Softener and Setter: Tools for Enhancing the Application of Water Slide Decals
Decal softener and setter are products that are used to enhance the application of water slide decals, particularly on Gunpla models.
Decal softener is a solution that is applied to the surface of the model before the decal is applied. It helps to soften the surface of the model and makes it more pliable, allowing the decal to conform to the surface more easily and reducing the risk of air bubbles or wrinkles.
Decal setter, on the other hand, is a solution that is applied to the surface of the decal after it has been applied to the model. It helps to set the decal in place and makes it more durable, allowing you to make small adjustments to the position of the decal before it dries.
Both Decal softener and setter are generally used by experienced modelers, as they require some knowledge of how to use them and the right amount to apply. They are not necessary for basic decals application, but they will make the decals look more realistic and professional.
In summary, decals are a type of pre-cut designs that are applied to Gunpla models to add details and markings. They come in two types which are stickers and water slide decals, the latter is the most preferred due to its realistic and seamless result. Water slide decals are applied to the model by cutting the decal from the sheet, immersing it in water to release the decal from the backing paper, and then positioning it on the model. Once in place, the decal is then sealed with a clear topcoat to protect the design and make it permanent. To make sure the decals are applied correctly, it's important to clean the surface of the model and use tools like decal softener and setter, which will make the decals look more realistic and professional. Patience is key when applying decals, and if necessary, you can use a hobby knife to cut the decal to the shape of the panel line.
