Featured
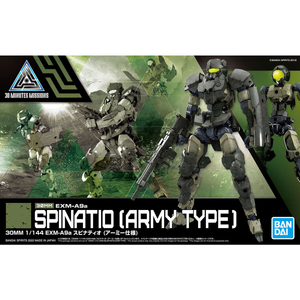
30MM 1/144 EXM-A9a Spinatio (Army Specification)
$17.00 $14.45
PG 1/60 Perfect Grade Unicorn Gundam 02 Banshee Norn
$260.00 $234.00
HG 1/144 HGUC RX-77-2 Gun Cannon
$17.00 $13.09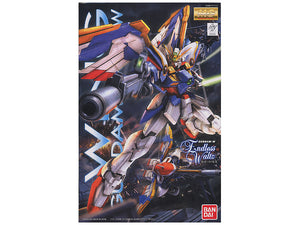
MG 1/100 XXXG-01W Wing Gundam EW Ver.
$41.00 $34.85
Dents & Dings – Discounted Model Kits & Hobby Items with Box Damage
$8.06 $11.00 ~ $55.00Getting Started in Gunpla: A Beginner's Guide to Building Your First Kit
As a beginner, it is usually best to start with a Gunpla kit from the "High Grade" (HG) line. These kits are designed to be more accessible for beginners, with simpler designs and fewer parts than the more advanced "Master Grade" (MG) and "Perfect Grade" (PG) kits. HG kits are also more affordable, making them a good choice for those who are just starting out in the hobby.
That being said, everyone has their own preferences and skill level, so it's ultimately up to you to decide which grade of kit is the best fit for you. If you feel confident in your ability to handle more complex models, you may want to try a MG or PG kit. Alternatively, if you just want to try out the hobby and see if you enjoy it, an HG kit might be the way to go.
Here's a quick checklist to get yourself started:
-
Gather your tools: You'll need a hobby knife, sandpaper, and a pair of nippers specifically designed for plastic modeling. You can read about how to choose the right nipper as a beginner in our Beginner Series: Guide for Scale Model Nippers.
-
Clean the parts: Use a soft cloth or toothbrush to remove any dirt or excess plastic from the parts. This will help ensure that the parts fit together smoothly and evenly.
-
Read the instructions: Gunpla kits come with instructions, and it's important to read through them before you start building. Pay attention to the order in which the parts should be assembled and follow the steps carefully.
-
Snip and trim: Use a pair of nippers, place the jaws of the tool around the part you want to remove and squeeze the handles together to cut through the plastic. Be sure to cut as close to the part as possible to minimize the amount of excess plastic that needs to be removed. After you have cut out the part, use a hobby knife to clean up any excess plastic and smooth out the edges. Be careful not to cut yourself and try to keep the parts as clean as possible.
-
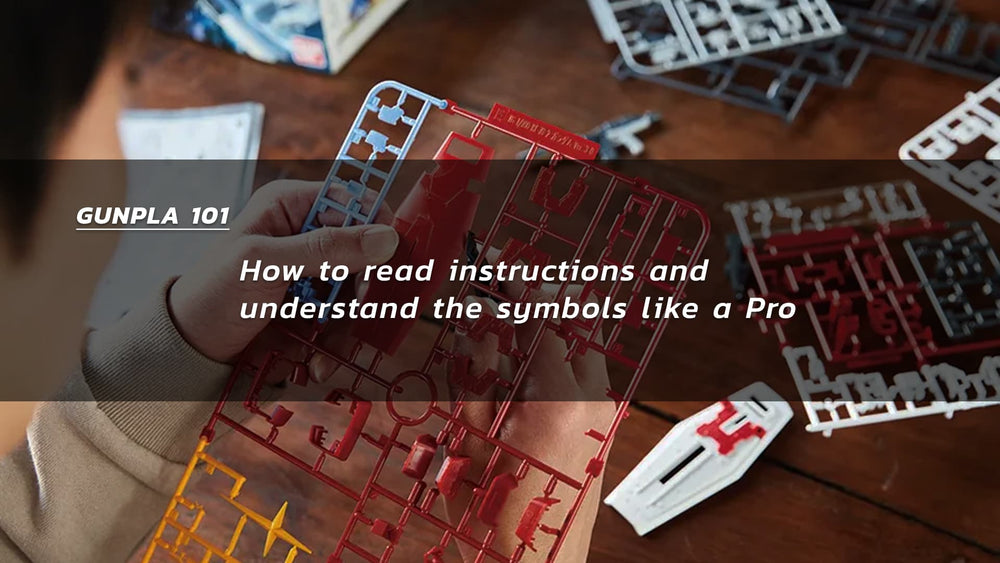
Assemble the parts: Follow the instructions to put the kit together. How To Read Instructions And Understand The Symbols Like A Pro
-
Sand and fill (optional): After you have assembled the kit, you may notice some seams or imperfections in the surface of the model. Use sandpaper and putty to smooth out these areas.
Sanding & Polishing Scale Models 101: A Beginner's Guide -
Paint (optional): Some people like to paint their Gunpla kits, while others prefer to leave them as is. If you do decide to paint your kit, be sure to use paints specifically designed for plastic models.
It's a good idea to start with a simpler kit and work your way up to more advanced ones as you gain experience and confidence. This will allow you to learn the basic building techniques and become familiar with the tools and materials used in the hobby.
High Grade (HG) Gunpla kits are generally considered to be easier to assemble than Master Grade (MG) kits, and as a result, they typically have fewer steps in the assembly process. HG kits are designed to be more accessible to beginner modelers, and as such, they often have simpler construction and fewer small parts.
A typical HG kit may have anywhere from 20 to 50 steps in the assembly process, although some kits may have more or fewer depending on the complexity of the model. In general, you can expect an HG kit to take less time to assemble than an MG kit due to the lower level of detail and simpler construction.
The number of steps in the assembly process for a Master Grade (MG) Gunpla kit can vary widely depending on the complexity of the kit and the specific model. In general, MG kits tend to have more steps and be more complex to assemble than High Grade (HG) kits due to their higher level of detail and accuracy.
A typical MG kit may have anywhere from 50 to 100 steps or more in the assembly process, although some kits may have fewer steps and some may have many more. It's also important to note that each step may have multiple sub-steps or require the use of multiple parts, so the actual time and effort required to complete an MG kit can be quite substantial.
Building a Gunpla kit can be a challenging but rewarding experience. It takes patience and attention to detail, but the end result is a beautiful model that you can be proud of. Good luck with your first build!
