Featured
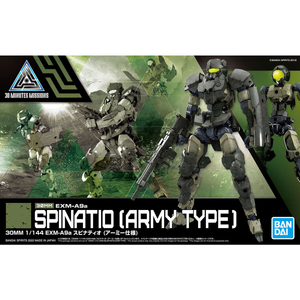
30MM 1/144 EXM-A9a Spinatio (Army Specification)
$17.00 $14.45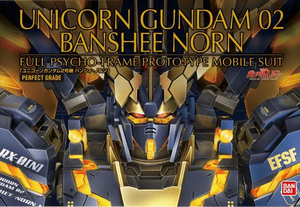
PG 1/60 Perfect Grade Unicorn Gundam 02 Banshee Norn
$260.00 $234.00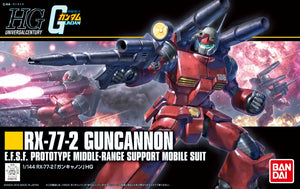
HG 1/144 HGUC RX-77-2 Gun Cannon
$17.00 $13.09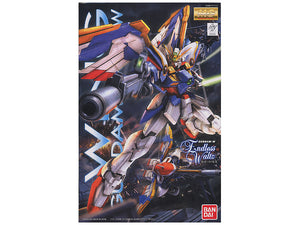
MG 1/100 XXXG-01W Wing Gundam EW Ver.
$41.00 $34.85
Dents & Dings – Discounted Model Kits & Hobby Items with Box Damage
$8.06 $11.00 ~ $55.00How to Make Your Gunpla Models Stand Out with Panel Lining
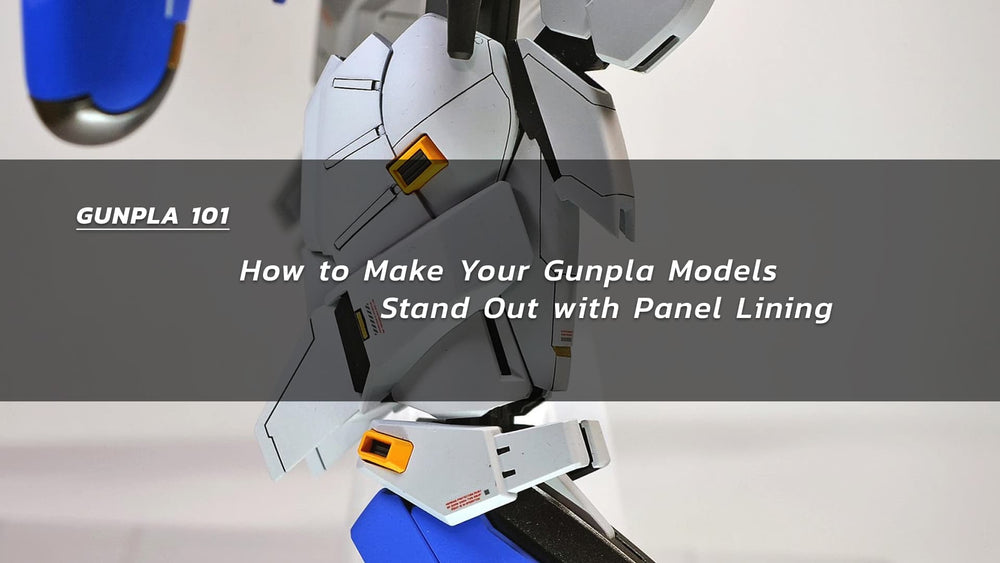
Panel lining is a simple but effective technique that can add depth and detail to your Gunpla model and make it look more realistic. By filling in the recessed lines, or "panels," on the model with a fine-tipped pen or brush and enamel or gundam marker, you can define the different parts of the model and make it stand out. Whether you are a beginner or an experienced modeler, panel lining is a great way to take your Gunpla to the next level and make it pop. In this article, we will discuss the benefits of panel lining and provide step-by-step instructions for how to do it yourself. By the end, you will have all the tools you need to create stunning, highly detailed Gunpla models that will impress your friends and fellow modelers.
What is Panel Ling really
Panel lining is a technique commonly used in scale modeling to enhance the visual details of a model kit. It involves applying a fine line of paint or ink into the recessed lines and crevices on a model kit, such as the panel lines, seams, and other engraved or embossed details. The purpose of panel lining is to make these details stand out, improve the realism of the model, and create a more visually appealing appearance.
The benefits of Panel Lining
-
Adds depth and detail: Panel lining helps to define the different parts of the model and make it look more realistic and lifelike. It adds depth and detail that can make the model stand out and look more impressive.
-
Enhances the paint job: Panel lining can help to highlight the details of the paint job and make the colors appear more vibrant and intense. This can be especially useful if you have spent a lot of time and effort painting your model and want to showcase the details.
-
Easy to do: Panel lining is a relatively simple technique that can be easily learned by modelers of all skill levels. With a little practice, you can quickly become proficient at panel lining and use it to add depth and detail to your models.
Rumors About Panel Lining: Does it Really Cause Plastic to "Cake" or Crack?
Enamel panel liner, like other enamel paints, has the potential to crack model kit parts if not used properly. Here are some reasons why this can happen:
-
Incompatibility with Plastic: Enamel paints, including panel liners, contain solvents that can potentially react with certain types of plastic used in model kits. Some plastics are more resistant to solvents than others, and exposure to enamel paint can cause them to become brittle or develop stress cracks over time.
-
Thick Application (Pooling): If enamel panel liner is applied too thickly, it can create stress on the plastic as it dries and shrinks. This stress can lead to cracking, especially in areas where there is already inherent weakness in the plastic, such as thin or delicate parts.
-
Drying Time: Enamel paints, including panel liners, can take a long time to fully cure and harden. If you handle or manipulate the model kit parts too soon after applying enamel panel liner, it can disrupt the drying process and potentially lead to cracking.
How to prevent Panel Lining from "caking" or cracking plastic?
-
Consider a Gloss Top Coat: Applying a gloss top coat before panel lining can provide a protective barrier and make cleanup easier. It can also improve the flow of Panel Liner due to the glossy surface. If Gloss finish is not desired for the final finish, a Matte/Satin/Semi-Gloss finish can be applied after Panel Liner has properly dried.
-
Apply Thin Coats: Apply panel liner in thin and controlled coats. Avoid applying too much product at once (pooling), as thick layers can lead to caking and cracking. Multiple thin coats are often more effective and less likely to cause problems.
-
Allow Proper Drying Time: Be patient and allow the panel liner to fully dry and cure before handling or assembling the model. Drying times can vary depending on the product and environmental conditions, so follow the manufacturer's recommendations.
-
Clean Up Excess Liner Carefully: After applying the panel liner, use an appropriate solvent, cotton swabs, or brushes to gently clean up any excess product from the surface. Take care not to apply excessive pressure, as this can stress the plastic.
How to clean up Panel Liner?
After applying Panel Liner to your model, it's common to have some excess in the areas where it was applied. To effectively clean up this excess, the use of an appropriate solvent is essential.
For enamel Panel Liners, Enamel Thinner is a recommended choice for cleanup. Brands like Tamiya and Testor offer enamel thinners that work well for this purpose.
However, it's important to exercise caution when using enamel thinner, as it can potentially affect the plastic if not used carefully. An alternative favored by many scale model hobbyists is Zippo Lighter Fluid. This lighter fluid is capable of removing excess enamel Panel Liner without being as harsh on the plastic. However, it's crucial to handle it with extreme care due to its high flammability and to work in a well-ventilated area to minimize exposure to toxic fumes.
The process of removing excess panel liner is straightforward but requires a delicate touch. You can employ a cotton swab or a similar tool for this task. Lightly dampen, rather than soaking, the tip of the cotton swab before gently removing the excess. It's crucial to ensure that the cotton swab is only dampened, not soaked. An overly saturated cotton swab may inadvertently apply too much solvent, potentially causing the panel lines you've applied to lift along with the excess.
What color of Panel Lining should I use?
The color of panel lining you choose should generally match the color of the part you are applying it to. A common rule of thumb is to use gray panel lining on white parts, brown panel lining on red or yellow parts, and black panel lining on blue or green parts. However, you can also choose to use a different color or a clear panel liner to achieve a specific look. For example, some modelers prefer to use black panel lining on the entire kit to give it a more defined, "pop" look. Ultimately, the choice of panel lining color is a matter of personal preference and the desired finish you want to achieve for your model.
What are the top brands for Panel Lining?
There are several top brands that make panel lining pens and markers specifically designed for use on plastic model kits. Some of the most popular brands include:
-
Tamiya: Tamiya is a well-known Japanese brand that makes a variety of modeling supplies, including panel lining pens and markers.
-
Gunze Sangyo: Gunze Sangyo is another Japanese brand that is popular among modelers. They offer a range of panel lining pens and markers in different colors and tip sizes.
-
Mr. Hobby: Mr. Hobby is a brand made by the Japanese company GSI Creos, and they offer a range of panel lining pens and markers for plastic models.
-
Vallejo: Vallejo is a Spanish brand that is known for their high-quality paints and other modeling supplies. They offer a range of panel lining pens and markers in different colors and tip sizes.
-
Citadel: Citadel is a brand made by the gaming company Games Workshop. They offer a range of panel lining pens and markers that are specifically designed for use on plastic models.
In conclusion, panel lining is a simple but effective technique that can add depth and detail to your plastic model kits and make them look more realistic and lifelike. Whether you are a beginner or an experienced modeler, panel lining is a skill that is easy to learn and can help to enhance the appearance of your models. By following the steps outlined in this blog and experimenting with different panel lining materials and techniques, you can create stunning, highly detailed models that will impress your friends and fellow modelers. So why wait? Give panel lining a try and see the difference it can make to your models.
